How it works
You will create a temporary “escrow” wallet where funds are held securely until claimed, and embed an authenticator with access to this wallet in a URL. When the new user clicks on the claim link, they will land directly in your app and see a wallet that’s already been topped up with crypto from an existing user. You can view an example of the feature below: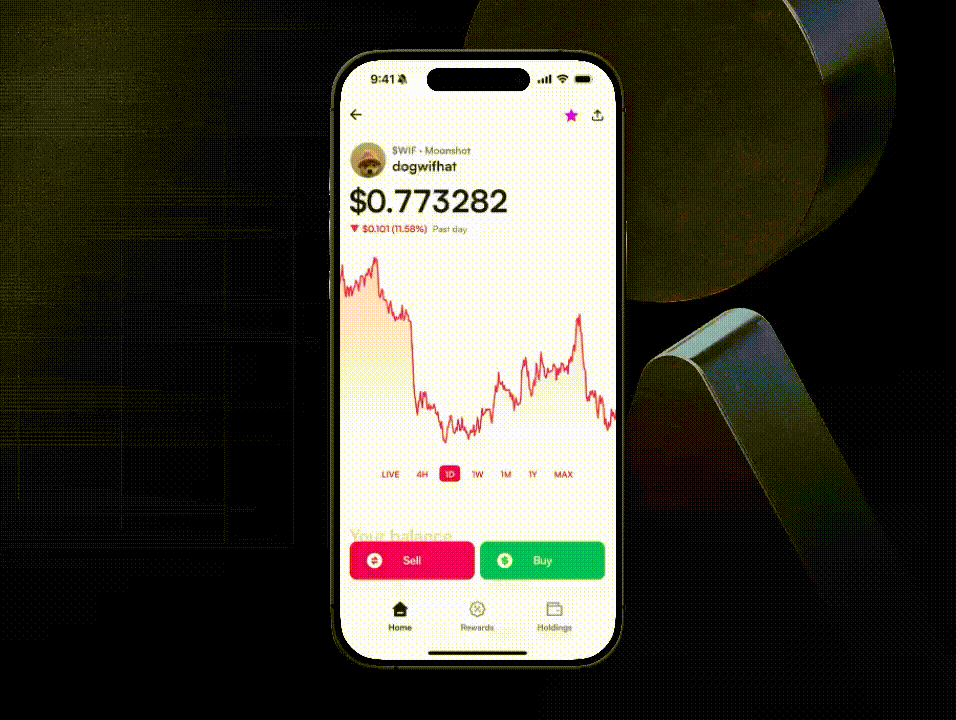
Implementation guide
Step 1: Set up your application: Before you start building this feature, ensure:- Your organization is set up with embedded wallets in a sub-organization model: Each of your users should map to a dedicated sub-org in Turnkey.
- Email authentication is enabled so that new users can sign up through a secure email flow.
- Your backend can store mapping records between transactions and sub-organizations
1
Create a temporary sub-org
This sub-org acts as the escrow environment. It will:
- Contain a new “escrow” wallet
- Contain a root user with two authenticators:
- The Sender’s email or phone number, included so that they can reclaim funds later on if necessary.
- A programmatically generated API key (“Claim Key”). This key will later be passed to the Receiver via a claim link.
2
Initialize transfer of funds
Initiate the transfer of funds from the Sender’s primary wallet to this new escrow wallet.
3
Create and store Tx record
For added security, store a transaction record in your backend that maps a transaction id to this temporary sub-org id.
1
Create your claim link
Construct a link containing, as query parameters:
- Base64-encoded private key from the Claim Key
- Transaction id
1
Your app parses the transaction id and looks up the associated temporary
sub-org ID
2
Reconstruct claim key
Reconstruct the Claim Key using the private key from the URL and store it in
local storage. Now, the Receiver has an API key in local storage that grants
them the ability to send funds out of the escrow wallet.
3
Create permanent sub-org
Guide the Receiver through your typical signup flow to create a permanent
sub-organization containing a new permanent wallet (“Receiver Wallet”) and
permanent authenticators.
4
Use claim key to authorize fund transfer
Use the Claim Key in local storage to authorize transferring the claimable
funds from the escrow wallet to the Receiver Wallet.
5
Delete temporary sub-org
After successful transfer, delete the temporary sub-org using the Claim
Key.